Melbourne’s Top Tile Installers for Floors
The Comprehensive Guide to Tile Installation Services: What to Anticipate
The process of tile installation is often both rewarding and complex. Homeowners often face decisions about materials and budgets, as well as the necessity of hiring skilled professionals. It is essential to understand what to expect throughout this journey. From choosing the appropriate tiles to caring for them after installation, various factors can influence the outcome. What difficulties could emerge, and how might one address them successfully? Understanding these answers will ultimately determine the overall experience and satisfaction achieved with the project.
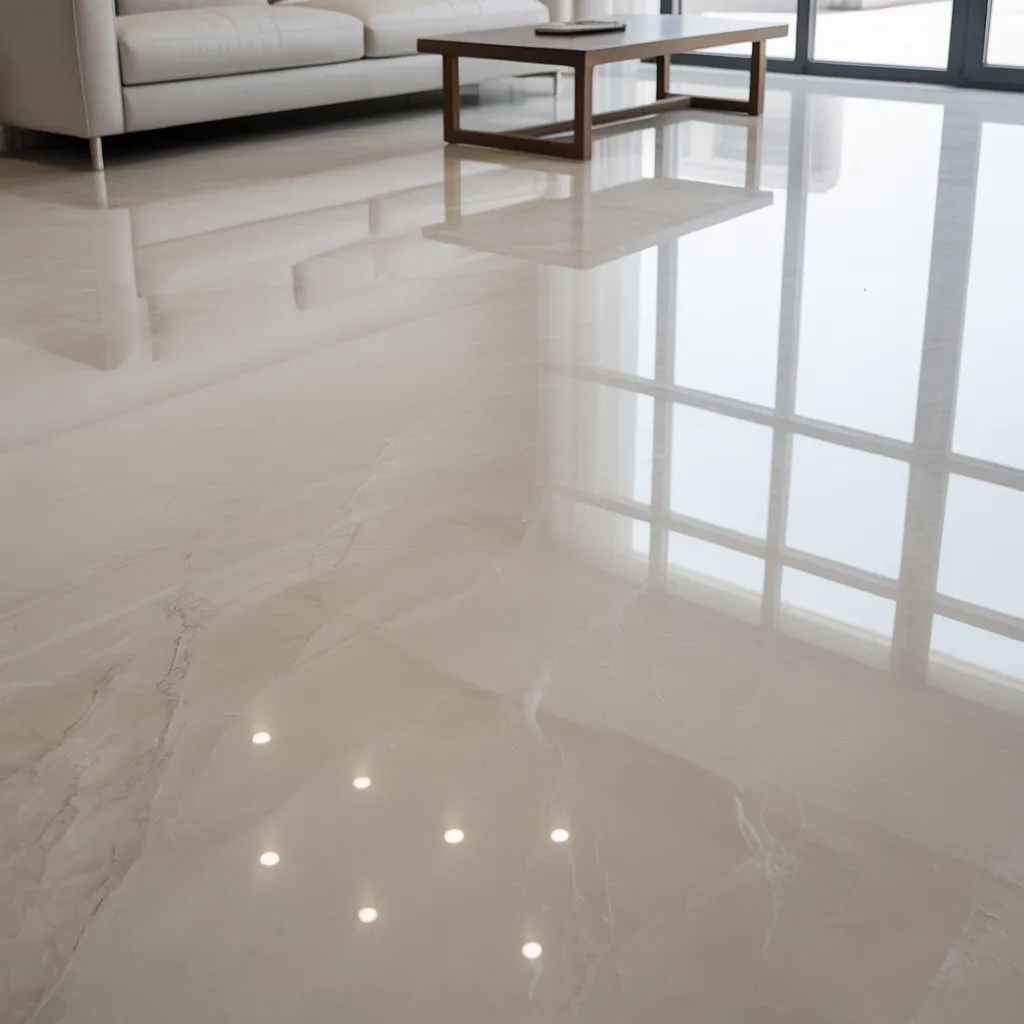
Selecting the Best Tile Materials for Your Project
When starting a tile installation undertaking, homeowners often prioritize picking the right tile products. The choosing process encompasses various elements, including longevity, appearance, and installation specifications. Common materials include ceramic, porcelain, and natural stone, each providing distinct qualities and limitations.
Ceramic tiles are valued for their versatility and cost-effectiveness, making them well-suited for numerous spaces throughout the home. Porcelain tiles, recognized for their presentation durability and moisture resistance, are ideal for heavily used spaces and humid conditions. Natural stone, such as marble or granite, delivers an elegant aesthetic but demands additional upkeep and attention.
Property owners should also consider the tiles' pattern, size, and finish to attain the preferred aesthetic result. In the end, the right material choice can improve the general appeal and usability of the area, guaranteeing the installation addresses both usability demands and visual expectations.
What Happens During Your Tile Installation
During a tile installation, homeowners can anticipate a series of critical preparation steps leading up to the installation day. Understanding what occurs on-site, from the initial setup to the physical placement of tiles, is crucial for a smooth process. This section presents these key steps to help clients feel informed and prepared.
Pre-Installation Preparation Steps
Getting prepared is critical for a successful tile installation, ensuring a seamless process and optimal results. Homeowners should begin by emptying the installation area of all furniture and clutter, establishing a clear and organized space for the installers. Subsequently, assessing the subfloor is crucial; it should be flat and structurally sound to properly support the new tile installation. Any necessary repairs to the subfloor should be completed in advance. Furthermore, choosing the appropriate tile type and arrangement can affect both the visual appeal and practicality, so homeowners are encouraged to discuss options with experienced professionals. To conclude, reviewing the timeline and required supplies with the installation team will assist in managing expectations and ensure a smooth project launch. Thorough preparation sets the stage for a successful installation.
Installation Day Expectations
Installation day begins with an organized set of procedures that secure an effective tile laying outcome. The installation team typically arrives early, equipped with necessary tools and materials. The team initiates by setting up the work area, ensuring it is clean and free from obstacles. Following this, the installers will take precise measurements and mark the pattern, enabling accurate and exact tile positioning. As they commence laying the tiles, they focus on maintaining even spacing and alignment, frequently utilizing spacers to ensure precision. Depending on the size of the area, the process may take several hours. Upon finishing the installation, the installers will clean the workspace and share instructions on grout curing time. Clients can look forward to expert craftsmanship and meticulous care during the whole installation.
Tips for Hiring the Best Tile Installation Professionals
When searching for the best tile installers, how can someone guarantee that the hired specialists possess the necessary skills and reliability? First, researching local contractors online can provide invaluable insights. Feedback and testimonials from past customers commonly demonstrate the level of craftsmanship and reliability.
Furthermore, obtaining several quotes enables an evaluation of services and pricing, helping with making well-informed decisions. One must confirm that the professionals are properly licensed and insured, as this safeguards against potential liabilities.
Additionally, requesting a portfolio of past projects can reveal the installer's experience and style, ensuring compatibility with specific requirements.
Finally, holding interviews can help gauge interpersonal skills and professional conduct, vital for a strong professional relationship. By following these steps, homeowners can carefully choose tile installation professionals who align with their needs and expectations.
Typical Obstacles You May Encounter During Tile Installation
When installing tiles, various obstacles may emerge that could affect the final outcome. Surface preparation issues can result in an uneven surface, while tile alignment problems can lead to a visually unsatisfactory finish. Addressing these challenges is essential for achieving a professional-looking installation.
Surface Preparation Problems
Proper surface preparation is essential for successful tile installation, as it directly impacts the longevity and appearance of the finished product. Among the most significant obstacles regularly encountered is the presence of uneven surfaces. Variations can lead to tiles cracking or coming loose over time. Furthermore, moisture-related problems may develop if the surface is not adequately dried or sealed, resulting in mold growth and damage. Remnants of debris, dust, or existing adhesive can likewise impede adequate bonding, undermining the quality of the tile installation. In some cases, inadequate leveling compounds may be used, causing subsequent problems. Resolving these surface preparation challenges is essential for achieving a seamless and long-lasting tile installation, ultimately contributing to the overall satisfaction of the project.
Tile Alignment Concerns
Subfloor and surface preparation problems frequently result in tile alignment challenges, a widespread concern encountered throughout the installation process. Uneven subfloors or walls may cause improperly aligned tiles, resulting in unsightly gaps or height differences between adjoining tiles. Moreover, improper spacing maintained between tiles can further exacerbate alignment issues. If tiles are not set in a straight line, it can disrupt the aesthetic appeal and compromise the overall integrity of the installation. Poor adhesive application may also contribute to movement during the curing process, causing tiles to slip out of position. To effectively prevent such issues, careful surface preparation, precise measurements, and uniform spacing are essential. Engaging professional tile installers can help guarantee that alignment remains precise throughout the installation process, resulting in a visually pleasing and durable finish.
Helpful Tips for Preserving Your Tiles After Installation
Preserving tiles following installation is essential for maintaining their appearance and longevity. Routine cleaning is essential; employing a tile-specific pH-balanced cleaner ensures damage is minimized. Avoid harsh chemicals that could damage grout and tile surfaces. For routine care, a light broom or vacuum can remove debris without scratching.
Spills should be addressed promptly so as not to cause staining, especially on natural stone tiles. In addition, sealing grout lines every one to two years helps guard against moisture and mildew.
It is recommended to use mats in high-traffic areas to minimize wear. Regular inspections for cracks or loose tiles can avoid larger problems in the future. If needed, expert deep cleaning services can restore the tile's original look.
What Is the Right Budget for Tile Installation?
How can homeowners effectively budget for tile installation? Understanding the costs involved is essential for accurate budgeting. The full project cost commonly encompasses materials, labor, and supplementary fees including underlayment or the removal of existing flooring. Tile prices can range from $1 to $15 per square foot, depending on the type and quality. Labor expenses generally account for an extra $5 to $10 per square foot, shaped by the difficulty of the installation process.
Homeowners should also consider supplementary expenditures, including grout, adhesive, and tools. It is wise to budget a contingency of ten to twenty percent for unanticipated complications or material surpluses. Furthermore, gathering several estimates from contractors can offer better insight into the market rate. Overall, a carefully considered budget will help homeowners make informed decisions and eliminate unanticipated financial stress throughout the tiling installation project.
Popular Questions We Receive
How Much Time Does Tile Installation Usually Take for a Standard Room?
Tile work in an average-sized room typically takes anywhere from one to three days, based on variables such as room dimensions, tile selection, and layout complexity. Preparation and drying time can also extend the overall process.
Can I Install Tiles Over Existing Flooring?
Tiles can indeed be placed over current flooring, given that the surface is properly cleaned, level, and structurally intact. Nevertheless, adequate assessment and preparation are critical to achieving a reliable and long-lasting result.
Which Types of Grout Are Best for My Tiles?
For tile installations, grout options consist of epoxy, sanded, and unsanded. Sanded grout works best with wider joints, unsanded grout is perfect for tighter spaces, and epoxy delivers exceptional durability and stain resistance, making it the preferred option for high-moisture environments.
Do I Need to Seal My Tiles After Installation?
Yes, sealing tiles after installation is generally recommended. It improves longevity, guards against staining, and shields from moisture damage. Whether sealing is required may depend on the tile material and placement, so consulting a professional is advisable.
What Are the Best Tools for DIY Tile Installation?
For DIY tile installation, key tools consist of a tile-cutting tool, tiling trowel, spirit level, spacers, grout float, and a rubber-headed mallet. Personal safety equipment like goggles and knee pads also provides a more comfortable and safer workspace.